
Introduction
A seedbox is a dedicated, high-speed server for downloading and uploading files. Most commonly used in the context of torrenting, a seedbox provides many benefits over using a personal computer for the same tasks.
Throughout my experiences with various torrent clients, qBittorrent has consistently stood out for its comprehensive features. However, as of the time of writing, the only version of qbittorrent-nox available for Raspbian is somewhat outdated (4.1.5). Compiling from source can be a daunting task, so thankfully, qbittorrent-nox-static provides a convenient solution.
User creation
Let’s begin by creating a user specifically for running qBittorrent securely. This step is straightforward:
adduser qbittorrent
Download binaries
The following steps can be found in the qbittorrent-nox-static documentation. Ensure you execute these commands while logged in as the newly created user.
mkdir -p ~/bin && source ~/.profile
wget -qO ~/bin/qbittorrent-nox https://github.com/userdocs/qbittorrent-nox-static/releases/latest/download/armv7-qbittorrent-nox
chmod 700 ~/bin/qbittorrent-nox
Next, launch qBittorrent to initialize the configuration files, then terminate the process.
~/bin/qbittorrent-nox
qBittorrent port configuration
Edit the configuration file by running:
nano ~/.config/qBittorrent/qBittorrent.conf
You’ll find many settings here, but we’ll focus on the essential ones. Locate the following line and set your desired port:
Session\Port=65530
Service creation
Execute the next commands as the root user or with sudo privileges.
nano /etc/systemd/system/qbittorrent.service
Copy, paste, and modify the content below as needed:
[Unit]
Description=qBittorrent-nox service
Documentation=man:qbittorrent-nox(1)
Wants=network-online.target
After=network-online.target nss-lookup.target

[Service]
Type=exec
User=qbittorrent
ExecStart=/home/qbittorrent/bin/qbittorrent-nox

[Install]
WantedBy=multi-user.target
Then, remember to enable, start, and check the service’s status:
systemctl enable qbittorrent
systemctl start qbittorrent
systemctl status qbittorrent
Firewall (using UFW)
Allow the necessary ports through the firewall, when the Nginx reverse proxy is configured, you can remove port 8080 from your authorisations:
ufw allow 8080/tcp comment 'qBittorrent WebUI'
ufw allow 65530/tcp comment 'libTorrent'
Router port redirection
Here’s a brief reminder: ensure that your server is configured with a static IP and that port forwarding is functioning correctly.
Access to web interface
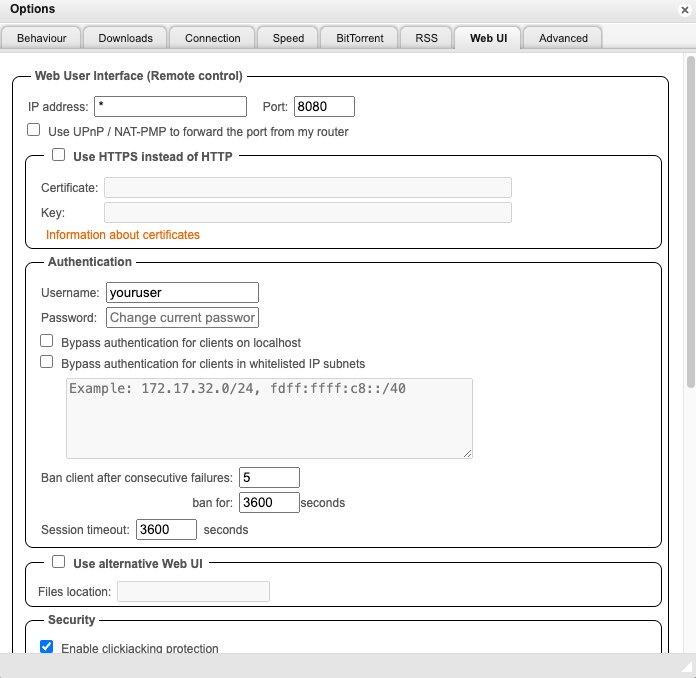
The web interface should now be accessible. Navigate to http://<your-ip>:8080 in your web browser. The default credentials are admin/adminadmin.
Immediately change the default login details:
Nginx configuration
We will briefly discuss setting up a virtual host (vhost). Detailed guides on installing Nginx, generating SSL certificates, and DNS configuration are available online, so we won’t cover those here.
However, ensure you’ve configured HTTPS before exposing your web interface to the internet.
nano /etc/nginx/sites-available/qbittorrent.conf
Copy, paste, and modify the content below as needed:
server {
  listen 80 http2;
  listen [::]:80 http2;

  server_name example.com;

  location / {
    proxy_pass              http://127.0.0.1:8080;
    proxy_set_header        X-Forwarded-Host        $server_name:$server_port;
    proxy_set_header        X-Forwarded-Host        $http_host;
    proxy_set_header        X-Forwarded-For         $remote_addr;
  }
}
Don’t forget to enable this Nginx configuration:
ln -s /etc/nginx/sites-available/qbittorrent.conf /etc/nginx/sites-enabled
Going further
Here are some additional considerations for future exploration:
- Mounting external storage to save downloaded files. Configure qBittorrent to save to specific directories and move files upon completion.
- Install Jellyfin to create a personal media center.
- Setting up a VPN, like PiVPN, to access your seedbox from anywhere without using Nginx.
- Securing your server with fail2ban.
- Implementing an alternative WebUI.
- Torrenting more safely by setting up proxy usage.
Conclusion
Setting up a seedbox on a Raspberry Pi with the latest version of qBittorrent can seem like a technical venture, but it offers a great way to enhance your torrenting experience with added control, efficiency, and privacy. This guide aimed to provide you with a clear path to getting your own seedbox up and running, from installing qBittorrent to configuring your system for remote access.
With your new setup, not only can you manage your downloads more effectively, but you also have a foundation to build upon. Whether you plan to expand your server’s capabilities, explore media streaming options, or further secure your system, the steps provided here give you a solid start. Remember, the key to a successful seedbox is not just in its creation but also in its maintenance and security.
I hope this tutorial has been helpful, and I encourage you to share your experiences, ask questions, and provide feedback. The DIY spirit of the Raspberry Pi community thrives on shared knowledge and collaboration, so don’t hesitate to contribute your own findings.
Happy torrenting!